
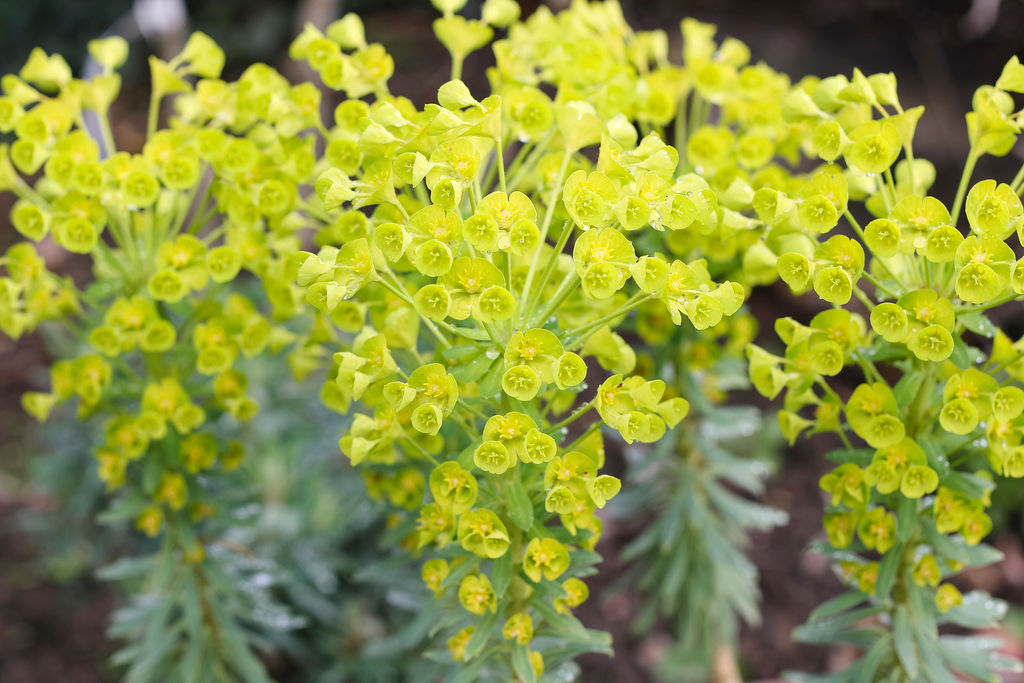
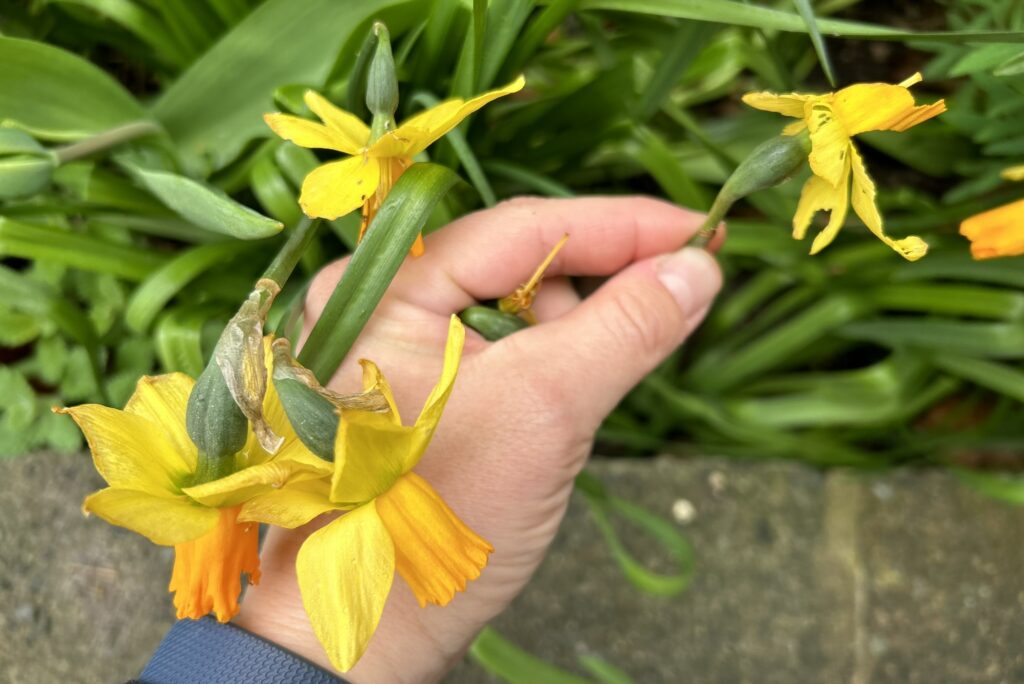
As ever with gardening, we have one foot in the now and one in the future. As Narcissi start to go over, remember to deadhead them so that all of the plant’s energy can go back into the bulb, rather than to producing seed. This will prepare for strong, healthy and floriferous bulbs next year. Don’t cut back the leaves after the flowers are over either. For the same reason as deadheading, these need to be allowed to die back naturally to feed the bulb for next year. If you find the sight of the browning leaves annoying as the month progresses, you can tuck them under other plants, and if you have them in pots, you can move the pots out of view.
Water your tulips and narcissi in dry periods (even if the flowers have gone over). This will help the foliage to grow well which in turn feeds the bulb and makes for better flowers next year. This is especially important for bulbs grown in pots as rainwater rarely reaches the soil in a pot. We suggest watering them once a week.
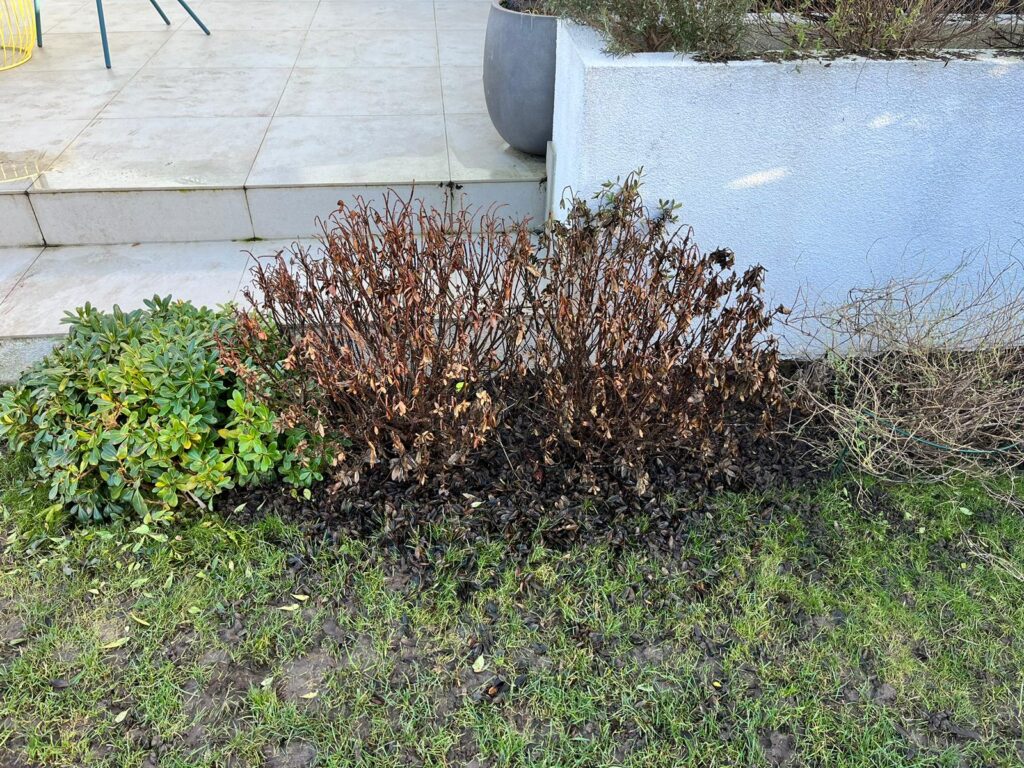
Following on from a particularly harsh winter, many shrubs have defoliated (lost their leaves) or died. In the gardens we care for, we are seeing this particularly with pittosporums and hebes. First up, you need to check if the plant is alive. You may be able to see some buds and new growth towards the middle of the plant by now. If this is there, you can cut the shrub back to this new growth. It will of course reduce its size somewhat but will give it the best chance of regaining a good shape.
If you can’t see any new growth, try cutting off a length of one of the stems to see if it has any green growth inside. If it is all brown and hollow, it’s likely the plant is dead. Check a few more stems to make sure. If it looks like the plant is definitely dead, dig it up carefully so as not to disturb the other plants around it. It’ll be important to consider carefully what to replace it with.
Next month we will be writing about hardy plants that should survive a winter like we have just had. Do look out for that and, if you haven’t already, sign up to our monthly newsletter to receive it straight to your inbox. If your shrub only has a section of defoliated or dead growth, it’s a good idea to prune this back, to stimulate regenerative growth. It may make for a less substantial plant now but the plant will be better off for it long term. We will be doing this with frost damaged ceanothus, as well as some pittosporums and hebes.
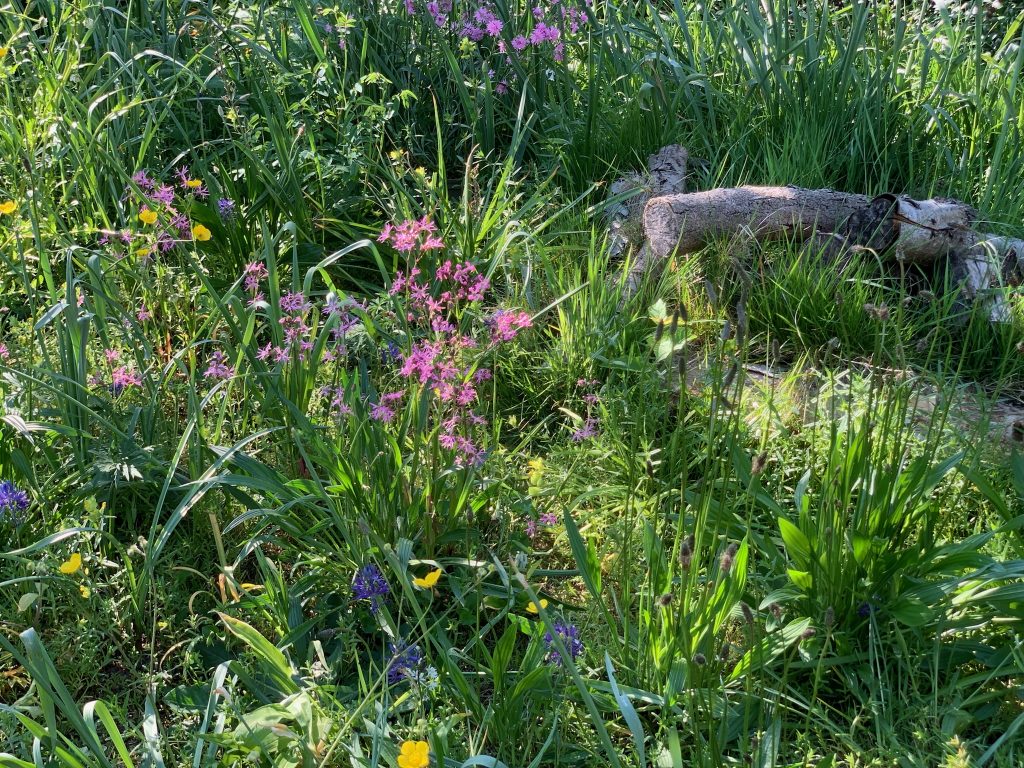
When we get a few dry days, it is a good time to give your lawn a mow. Do this on a longer setting than you might do a summer mow as this will help the grass re-establish after a tough winter. You can seed any bare patches. Next month we encourage you to take part in “No Mow May” either for all of your lawn or at least a part of it – it just involves leaving your lawn to grow for a month and seeing what wildflowers and other plants may be growing in it. This will be beneficial for wildlife and also can give you a taste of what having a wilder area of lawn might be like – as well as the break from needing to mow it! Why stop at May…..you could consider have a wilder and more beneficial lawn all summer – we have written here about creating wilder areas of lawn. Let us know if you have any questions!
This is a job to do towards the middle of the month once the risk of frost have definitely passed. Do check the forward forecast in your area before undertaking this prune. Once the risks have passed. Here is what to do for each plant:
Gaura – cut this back to the base where you can see the new growth coming. There will be new growth on the base of existing stems, and also new growth appearing from under the ground. Cut back all of last year’s growth to around 10cm from the ground.
Penstemon – in a similar way to the Gaura, these can be cut right back. You will see new growth along the existing stems but cut these back to just above the lowest ones. This will make for a much healthier and better shaped plant. It will feel a lot, especially if your penstemon hasn’t gone brown over winter, but this prune will stop the plant from becoming too woody and leggy.
Salvia – there are three main types of perennial salvias that you may have in your garden. Each one requires slightly different care.
Firstly, there are herbaceous perennial salvias which are hardy and come back year on year, in the right conditions. These include Salvia nemerosa such as the popular ‘Caradonna’, and Salvia x sylvestris such as ‘Mainacht’. These should be cut right to the base of the plant as all the new growth emerges from below the soil every spring.
Secondly, there are tender perennial salvias which include Salvia Amistad and Wendy’s Wish. These can come back year on year but might succumb to cold weather and/or soggy soil. These can be pruned as per the hardy herbaceous perennials if they’ve survived the winter. It has been a particularly cold winter so time will tell if they have survived.
Lastly there are shrubby salvias which are woody and hardy, some are evergreen or semi-evergreen. These are our favourite Salvia and include Salvia x jamensis (such as ‘Hot Lips’ and the rest of the ‘Lips’ series), Salvia greggii (such as ‘Icing Sugar’) and Salvia microphylla (such as ‘Trebah lilac white’). The aim with pruning of these plants is to create a well-shaped plant that doesn’t go leggy. Usually at around half way up the plant, sometimes more, sometimes less, you will see an abundance of new growth. You can cut back to here, cutting just above a pair of leaves. Remove any dead or damaged growth at the same time. Pruning like this will maintain the shape of the plant and ensure it flowers all over, rather than just at the ends of the stems.
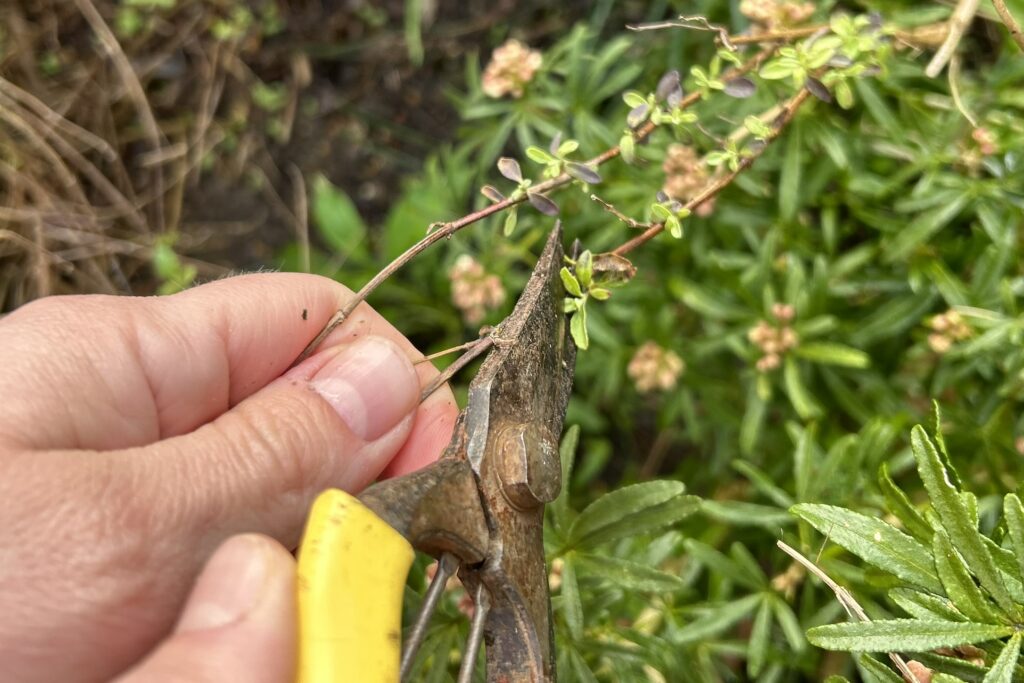
And if you haven’t yet cut back your other perennials such as Verbena, Nepeta, Erigeron, Sedum and more – do them now! Cut all of last year’s stems right down to the ground. Even if you can see new growth on last year’s Verbena stems, you will also see growth emerging from the ground and this is the growth that you want – so be brave and chop away!
Hydrangea should be safe to prune mid to late April as well – do check the forecast in your area before doing so in case of any cold snaps ahead. Different Hydrangeas require different pruning – here is a basic guide:
Paniculata varieties (such as Limelight and Snowball) and Arborescens varieties (such as Annabelle) –pruning these fairly hard will encourage better flowering for this year. It also keeps their size in check as some varieties can get up to 2.5×2.5m – if left to get to that size you probably won’t get the best view of the beautiful blooms! First remove any dead, damaged or crossing stems. You should then cut back all stems to a pair of healthy buds – either to a high bud if newly planted and you’re looking to grow a larger plant, or hard pruning to the lowest pair of healthy buds to create a low framework of branches and large flower panicles.
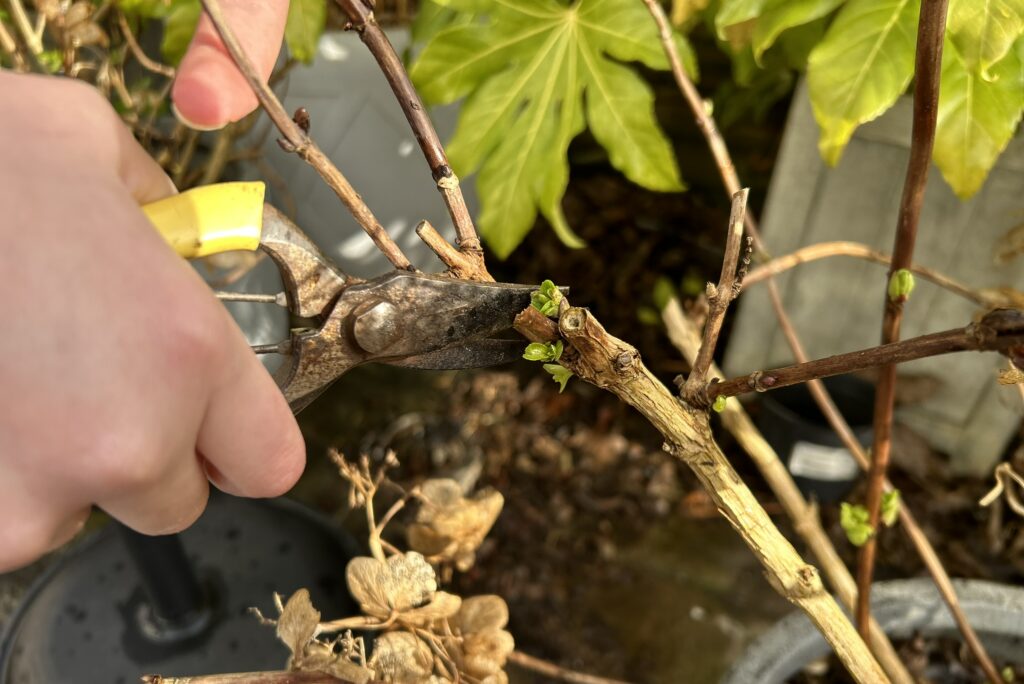
Mophead and lacecap varieties – with these it is more deadheading than full on pruning as they flower on last year’s growth. Again, remove any dead, damaged or crossing stems. With more mature plants, you may need to remove some of the oldest stems at the base, to create space and air within the plant. Deadhead the remaining stems by cutting just above the highest pair of buds, or possibly the one below that in order to keep all stems approximately the same length.
Now is also a good time to feed, water and mulch your Hydrangeas for an extra boost as they grow and develop their flower buds.
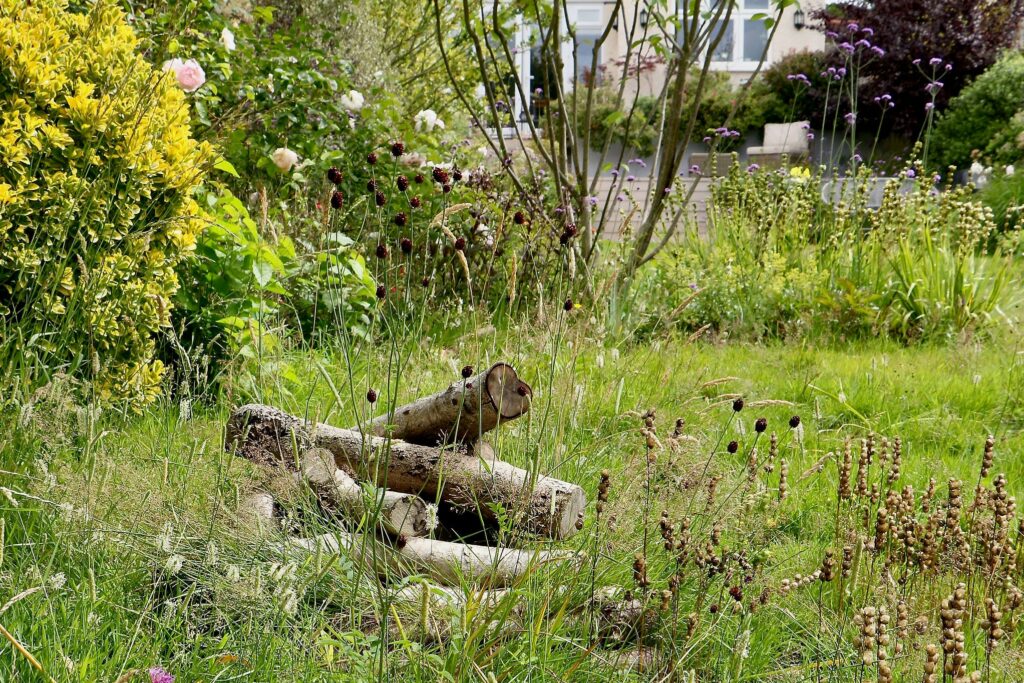
Spring cleaning often gets a grip at this time of year, not only in the house but the garden too. Tidying the garden readying it for increased use as the weather warms up is a lovely job and allows us to look forward to lots of happy times yet to be spent in the garden. However, don’t be tempted to remove all piles of fallen leaves, sticks or logs. These are essential habitats for wildlife and leaving some piles around the garden (perhaps at the back of borders so they are both out of sight and also away from disturbance) is really beneficial.
Early April is also a great time to install bird boxes and other habitats for wildlife. We have written about this in more detail here, including some fun ways to engage children with the garden.
All roses will benefit from being fed now, which will encourage healthier plant and better blooms this year. If you are on clay soil, which is very nutrient retentive, you can probably get away with just a thick layer or mulch, such as well rotten manure or homemade compost. If you are on ligjhter soil or want to give your roses an extra boost, choose either a general purpose or rose-specific organic feed (following the instructions on the pack), water in and then mulch the rose well, using garden compost or well-rotted manure. Remember not to mulch right up to the stems of the plant as this can lead to rot. If your rose is planted in the ground, this should be enough fertiliser for it until after the first flowers.
If your rose is in a container it will have much less access to nutrients, and so will benefit from being fed once a month from now until late Summer. Use a general-purpose organic fertiliser until the flowering starts, and then switch to a high potash fertiliser to help promote flowering – a tomato feed is usually a good option for this, or liquid seaweed.
With all fertilisers, we urge you to use organic whenever possible. This is far kinder to the plant and the environment.
New growth will likely be really getting going now on your perennials – including plants such as sedum, verbena bonariensis, geums, nepeta and hardy geraniums. Check that the new growth looks healthy and trim back any brown leaves. You should also check for weeds growing in or too close around the plant. These can restrict growth of your intended plant so should be carefully removed.
Garden favourites Convallaria majalis (Lily of the Valley) and Bearded Iris can be ordered and planted now as bare root plants. The roots will need soaking for a few hours before planting, but full instructions on how to plant should be provided by the seller.
Summer flowering bulbs can be planted now too, our favourites of which are Nerines (pictures en masse below) and Gladiolus murielae (Abyssinian gladiolus).
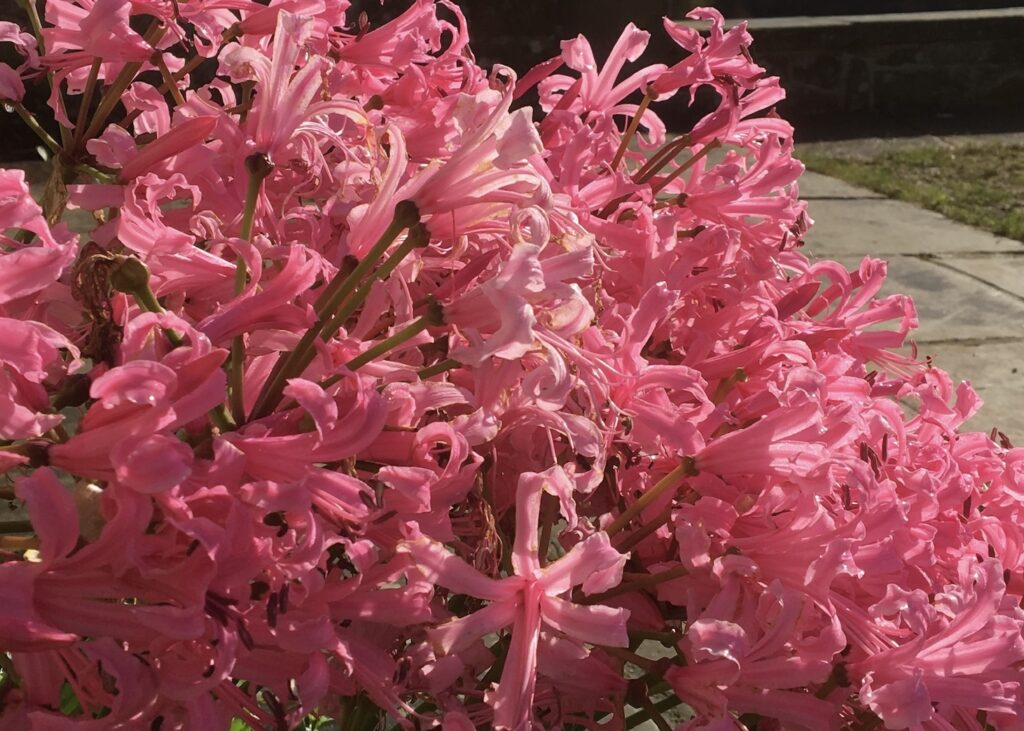
Lastly, crocosmia corms can be planted now too. These can sometimes take a year to settle in and flower, but they are a beautiful addition to a garden. Some of our favourite varieties include George Davidson and Sunglow which are both a lighter orange/yellow colour but grow to different sizes, and Emily MacKenzie and Masoniorum which are richer orange colours. They’re great for bees, and when they turn to seed, they’re beautiful for added late autumn interest in the garden too.


Gardens by Anna Butterfield offer professional garden and planting design across London and the South East.
Our expert, organic garden care service is available across South East London as well as parts of Kent and Surrey.


