Climbing roses flower on new growth, so all this year’s growth can be pruned back now to create an open, healthy framework from which the new growth next spring will grow. As with all pruning, firstly remove any dead, damaged or diseased stems. Next uncross any tangled stems and create a fanned-out framework. Stems need to be tied in securely to whatever the rose is climbing (wires, trellis, pergola etc). Once you have assessed the shape and removed any crossing stems that can’t be separated and fanned out, you can begin cutting back the side stems leaving just a couple of leaves.
In practice, it can be easier to cut the side shoots down before you fan out the main stems and tie them in. This creates some space so you can see the main stems more clearly. When fanning these out, you want to get them as horizontal as possible. This will mean more flowering shoots are sent out and you will have a fuller plant with more flowers next year.
Beware of the thorns and wear suitable clothing to protect yourself as a scratch from a thorn can cause a nasty reaction as one of our team recently experienced. When tying in the plant, make sure that you use a natural twine or soft coated wire. Thin wire can cut in to the plant, especially as the stems thicken, which makes disease more likely.
Once you are finished, gather any fallen rose leaves and get rid of these from your garden. This will reduce the spread of black spot. Check that the roots of the plant are well covered and that it is planted well, with no rocking or large gaps around its base in the soil.
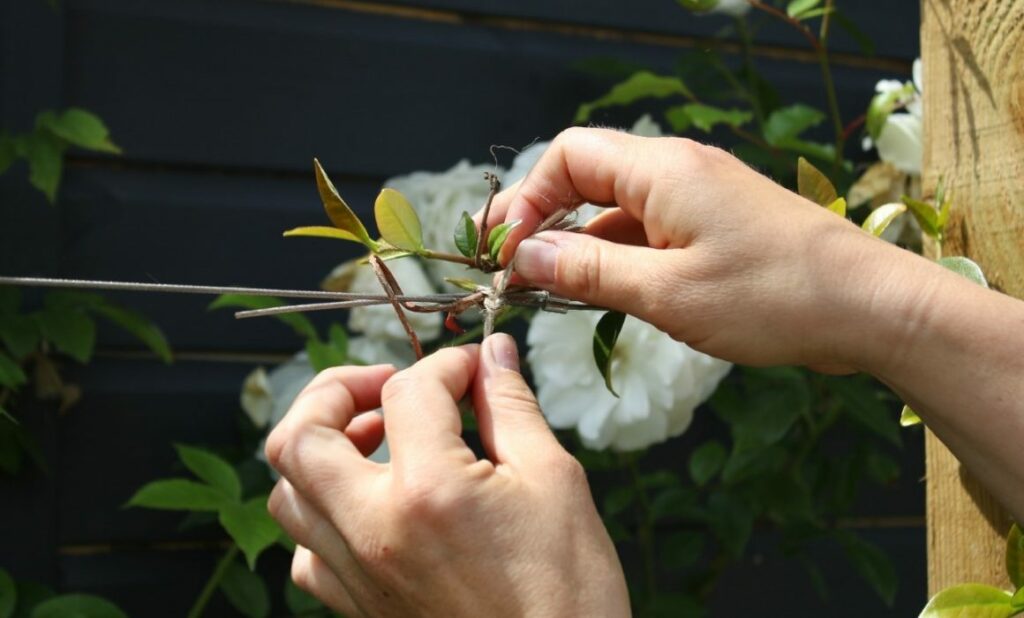
Prepare climbers for windier weather by checking they are tied in securely. This will help to prevent the roots of the plant being disturbed by the weather, as any long, un-secured stems can be caught by the wind which puts pressure on the roots as well as the stems themselves – potentially causing snapping of stems or loosening of roots.
Check that any newly planted specimen shrubs and trees are planted firmly in the ground, and that their supports are sturdy and in the right place. As the strength of the wind will increase as the season progresses, we are looking to make sure that the plants won’t become uprooted or damaged by it.
Now is a great time of year to move and/or plant plants. The earth is still warm so roots will be able to grow straight away, helping the plant to settle in quickly in its new home.
If you are planting new plants, make sure you give the roots a tickle so that they spread out into their new spot, rather than continuing to grow round and round as they may have been doing in the pot. Just rub your hand around the edges of the roots breaking them up a little. Water them in well.
If you are moving plants, take care when you dig them up to get as much of their root mass as possible and replant them as quickly as you can. Water then in well and do so weekly until we have regular rainfall.
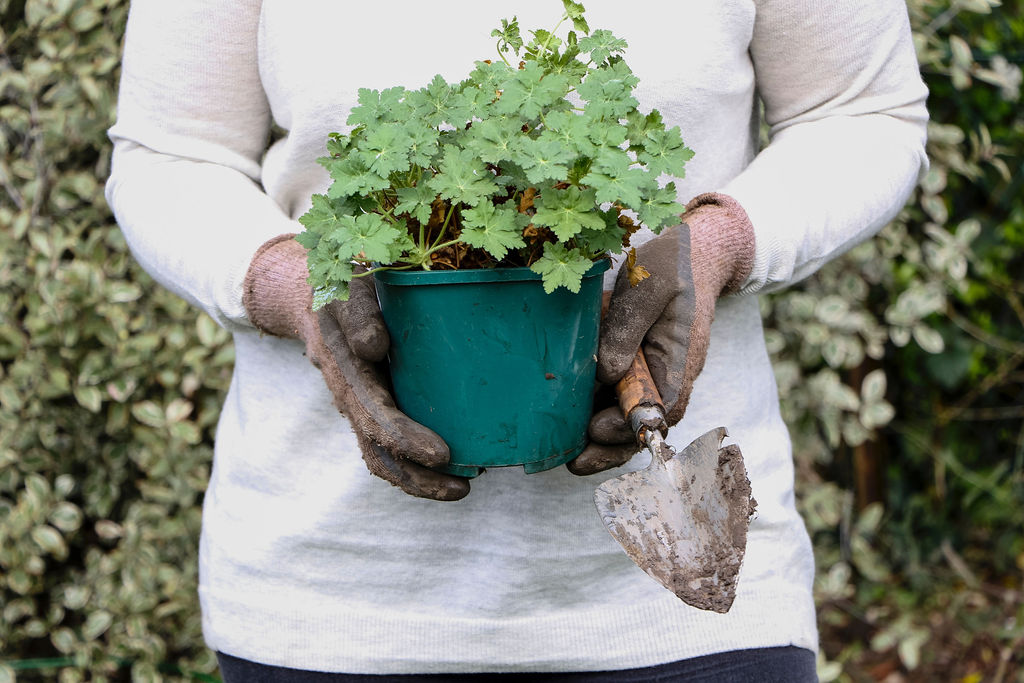
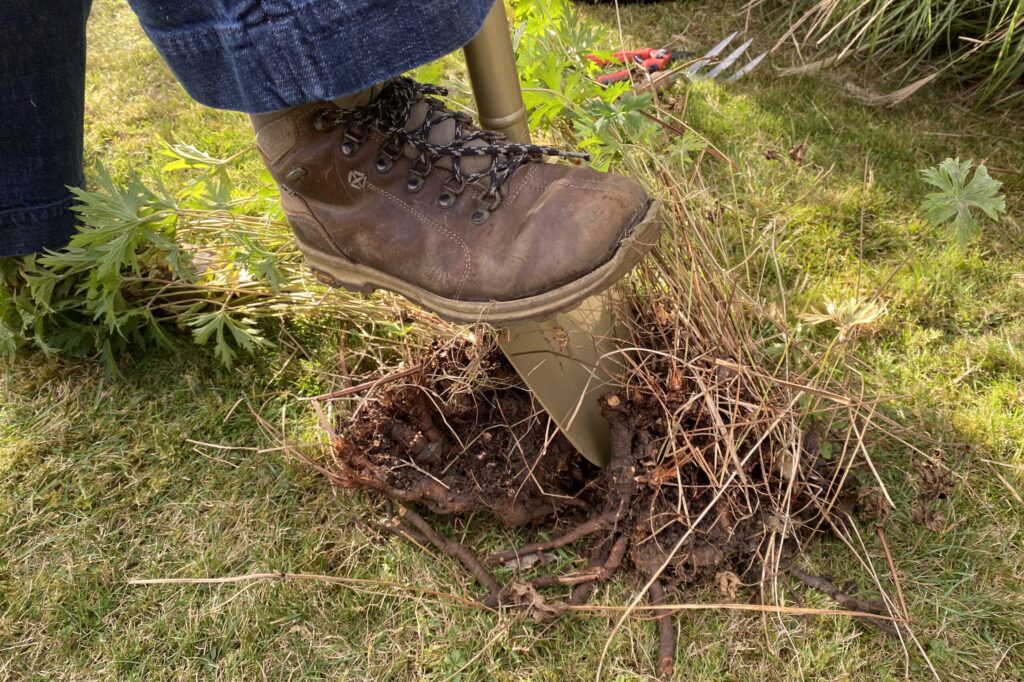
If you have any herbaceous perennials that have become congested or too large for their space, you can divide them. Some plants, such as gaura and phlomis are better left until Spring. But plants like hardy geraniums, geum, nepeta and rudbeckia can be divided now. If you are not sure where you want to put the extra plants, you can pot them up and keep them in a slightly sheltered spot protected from wind over winter (make sure they’re watered) and then plant them in the spring.
Dig up the plant with as much of the rootball intact as possible. Look for any natural separation in the roots, but don’t worry if there isn’t one. Using a sharp spade and a firm foot, slice through the rootball – depending on the size of it you could divide it into 2, 3 or even 4 new plants. For really congested roots, two border forks placed back to back and stamped on, then forced apart, can work well – or you can even use a pruning saw!
If you haven’t ordered yet – please do so now before they all run out! And whilst you can start planting many bulbs now, such as Crocus, Daffodils, Camassia and Alliums, it is important not to plant Tulip bulbs until the weather is reliably cooler – usually mid November onwards (up to Christmas). This is because in warmer soil they can develop tulip rot. So if you have planned a plethora of bulbs including Tulips, it is easiest to wait and plant them all together – just make sure you get them out of heir boxes straight away and spread the bags out in a cool place such as a dark shed. If you are looking for some bulb inspiration we have some for you here and another article highlighting bulbs for different areas and gardens.
At this time of year, there are some plants that are ready to be cut back and others that should be left alone for winter. Herbaceous perennials that die back and go a bit mushy over winter should be cut back. This includes Nepeta and hardy/perennial Geraniums. Once they have stopped flowering and their leaves are browned, you can cut them right back to the base and wait for new growth to emerge in the Spring.
More tender herbaceous perennials such as Penstemon, Gaura and shrubby Salvia will also die back somewhat but at least some of the stems need to be left in place to protect the crown of the plant over winter. We like to cut back by about a third to a half once they have finished flowering, to stop them looking too untidy but still provide that protection. Many of these plants may still be flowering so this is usually a November job, once flowering has finished. It is worth saying that we lost several Penstemon and shrubby Salvia in the harsh winter of 2022-2023, whether they were partially cut back or not at all – so fingers crossed that we don’t get such an extended period of cold and snow this winter!
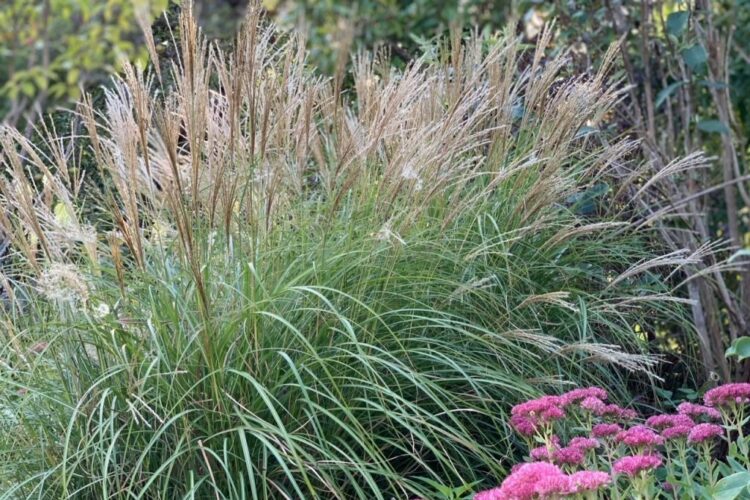
Lastly there are many herbaceous perennials we like to leave standing to provide winter interest in the garden and spaces for wildlife to shelter. These include ornamental grasses, Echinacea flower heads (dead foliage can be tidied), Sedum, Phlomis, Verbenas and Veronicastrum (stems can be reduced in height if they are flopping over, but it’s good to leave some in place). The seed heads provide a structural and sculptural quality that can be enjoyed over the winter months, as well as providing food for birds and stems for insects to shelter in.
As leaves start falling, you may feel the urge to sweep them all away – stop right there! We really encourage you to leave some piles around your garden or in the backs of borders, or under trees. They’re important habitats for insects, hedgehogs and frogs to overwinter in and so very beneficial for your garden.
With leaves that you clear from patios and the lawn, you can make leaf mould – free plant feed which is super easy to make and very useful to have for your garden. You will need a simple cage container for the leaves – just four stakes for the corners and chicken wire between them to make the walls. Around 1m2 is a good size to start with, but you may wish to create a larger cage if you have lots of falling leaves in your garden.
To make the leafmould, simply rake the leaves (or use the mower to shred and collect them, meaning they will break down more quickly!) and put them into the storage cage. You can also chop the leaves up using shears – as well as speeding up their breakdown this will also reduce their volume so that you can fit more in.
Within a year or so you will have high quality organic matter to use in the garden for improving soil, mulching or as a seed compost. If you create your cage on earth, be sure to lay a thick layer of card or membrane at the bottom to suppress any growth coming up into the leafmould. You could reuse spent compost bags for this.

If you don’t have space for a leafmould cage, or you don’t have many leaves, you can also use a hessian sack, or an old compost bag (or similar) with holes punched in to store the leaves. Prepare the leaves in exactly the same way, dampen the leaves if they are dry and then tie the top loosely. Hang up the sack in a shed or garage, or stack out of sight.
Beware of diseased leaves. If you have any plants with fungal diseases (often characterised by spots on the leaves) gather and dispose of the diseased leaves – do not use them to make leafmould as the diseases will survive. Some examples of diseased leaves commonly found in gardens but to avoid using in any sort of compost production are roses with blackspot or hawthorns with leaf spot.
Lastly, not all leaves are equal when it comes to making leafmould. Evergreens and conifers are best added to compost heaps as they will take a long time to break down. Thicker deciduous leaves such as sycamore or horse chestnut are best chopped up or shredded first to speed up their breakdown. Beech, hornbeam and oak are said to be the quickest to break down and make for a very good quality leafmould.
Over the wetter months, pots can become waterlogged. Not only is this bad for the plants in them but it can also mean there’s a higher chance that the pots will crack when it freezes. Check that drainage holes are clear and, if needed, raise the pots on to feet to allow for free drainage when it rains.
We are nearing the last mows now. Growth is slowing. We recommend cutting your lawn on a medium to long setting and neatening the edges now, as well as aerating it. This will help reduce compaction thus allowing the roots of the grass to grow more easily. It will also help water and nutrients to reach lower into the soil.


Gardens by Anna Butterfield offer professional garden and planting design across London and the South East.
Our expert, organic garden care service is available across South East London as well as parts of Kent and Surrey.